
Different Ways to Set Tile: A Visual Guide
The tile you choose matters, but the pattern you set it in is what gives a space its personality. Here are the patterns we install most often at Ceramic Designs, along with a few specialty looks for clients who want something more custom.
Common Tile Patterns
Horizontal Offset
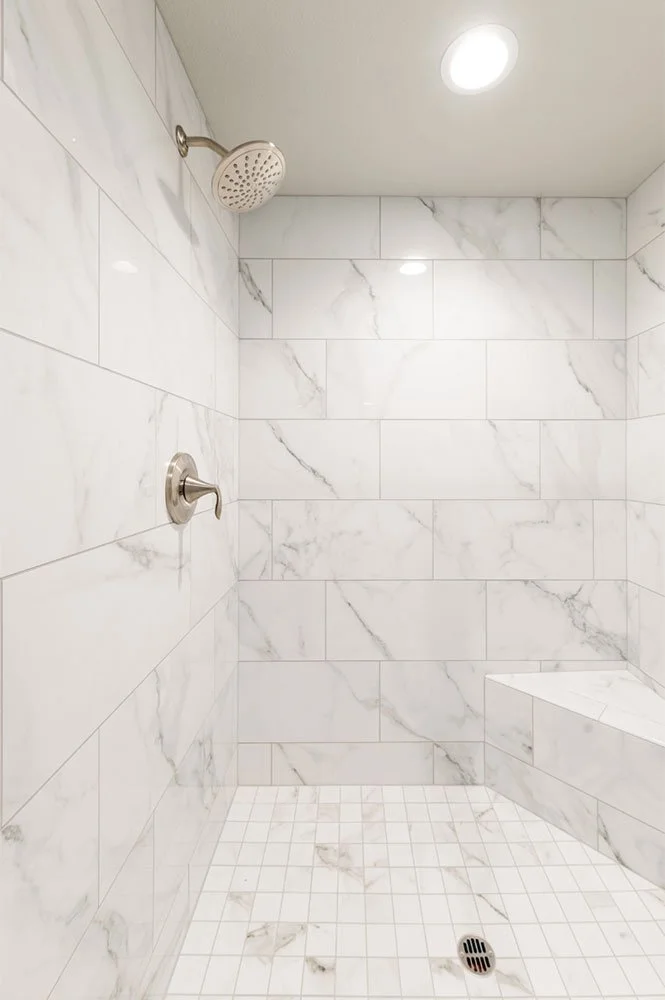
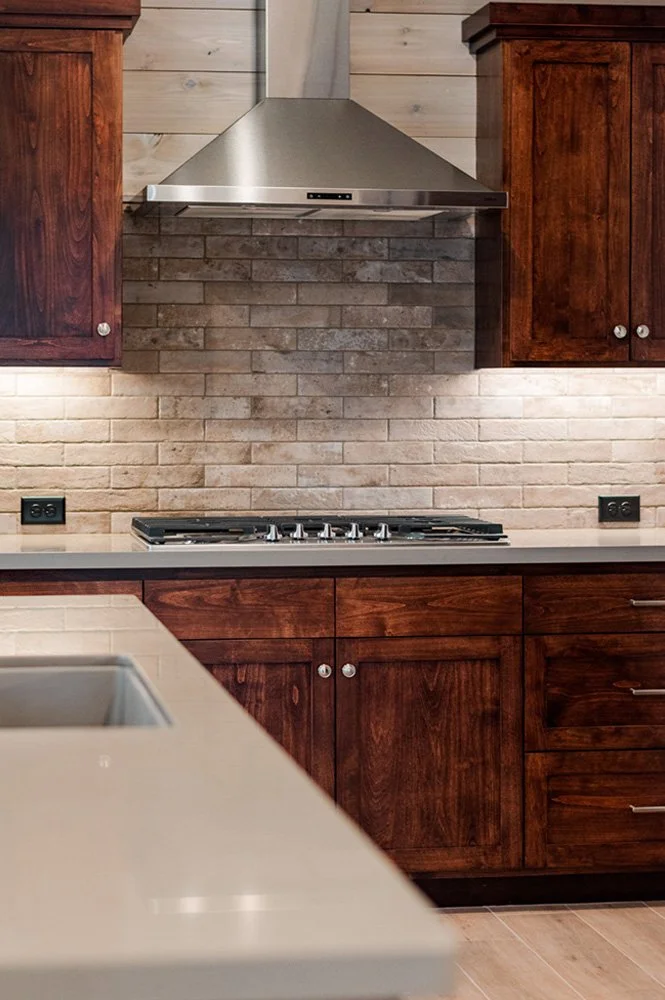
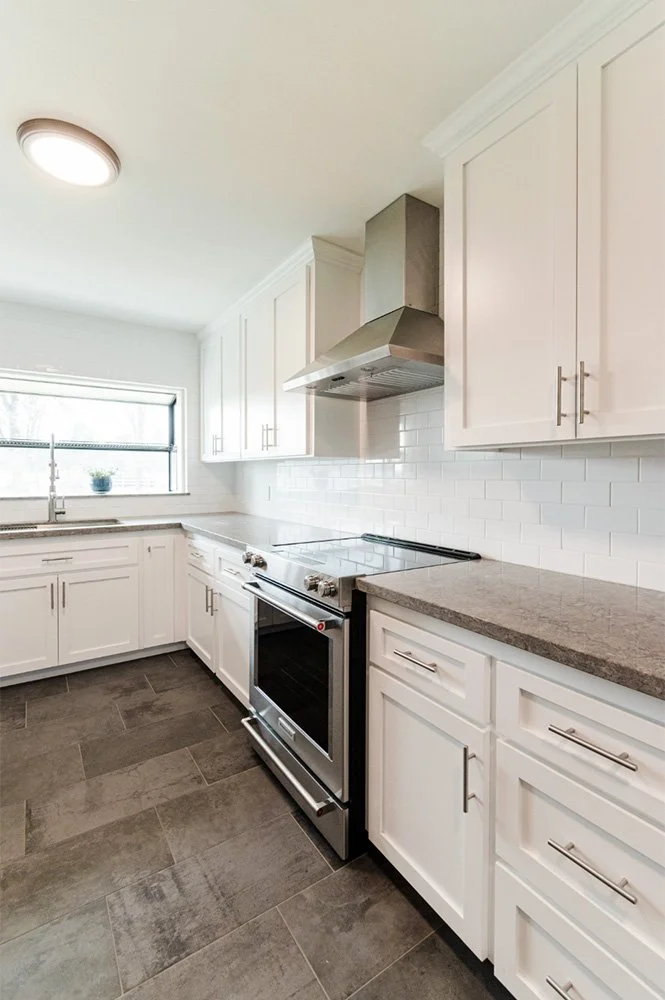
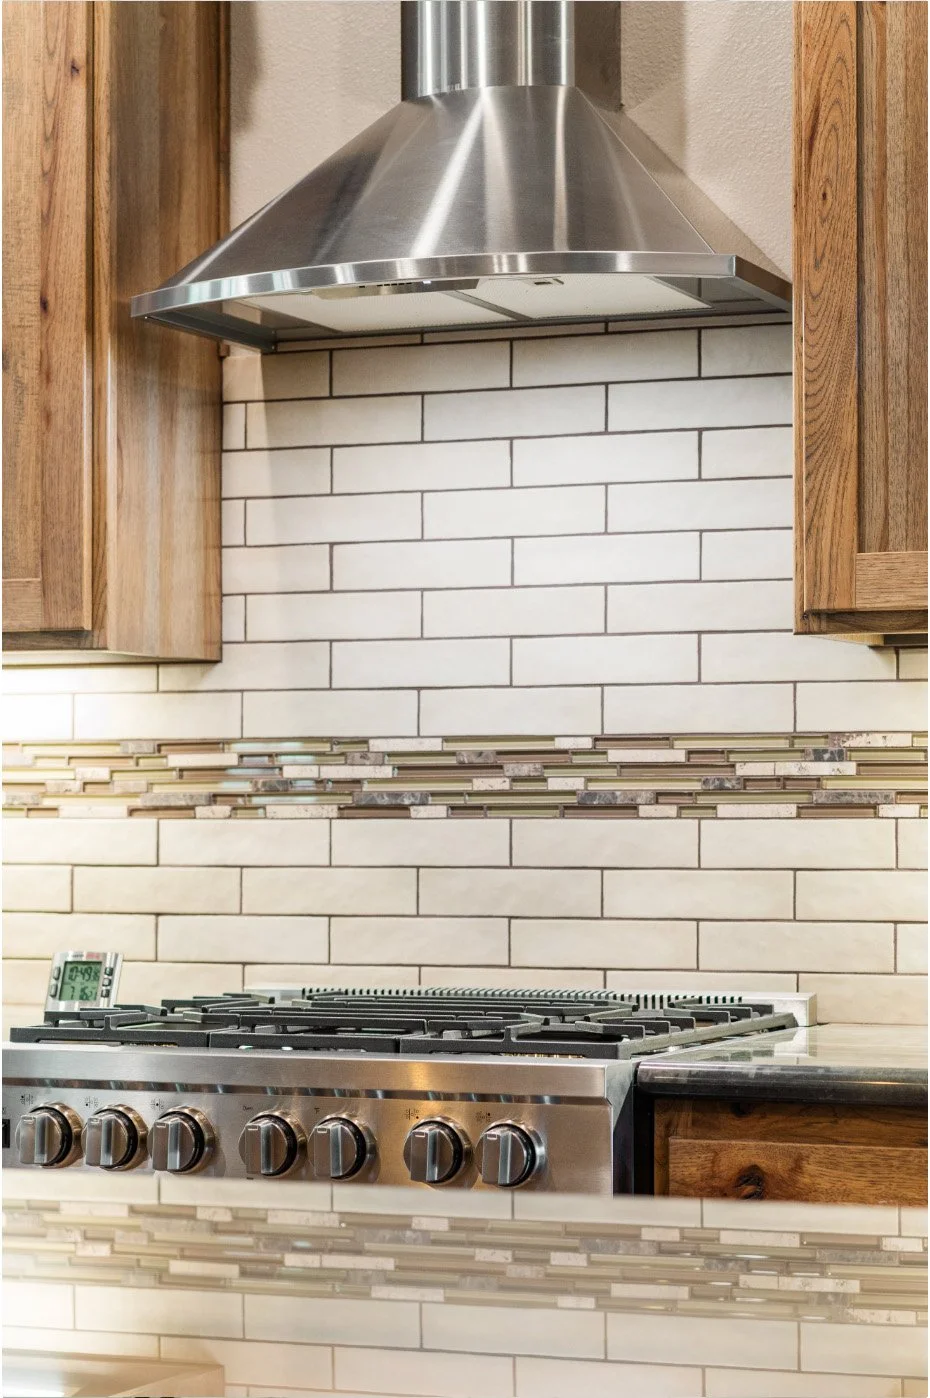
In a horizontal offset, each row is shifted so the joints do not line up with the row below it. Our most common traditional offset is a one-third offset, especially for 12” x 24” tile, because it helps reduce lippage across longer pieces while still giving the layout movement. A 50 percent offset is typically reserved for smaller subway tiles and brick-look tiles where that classic brick pattern works well.
Large-format 24” x 48” tile cannot be installed in an offset pattern because of lippage concerns. These tiles need to be set in a straight joint layout for the best finished result. Horizontal offset is timeless, forgiving, and works beautifully in many spaces when paired with the right tile size.
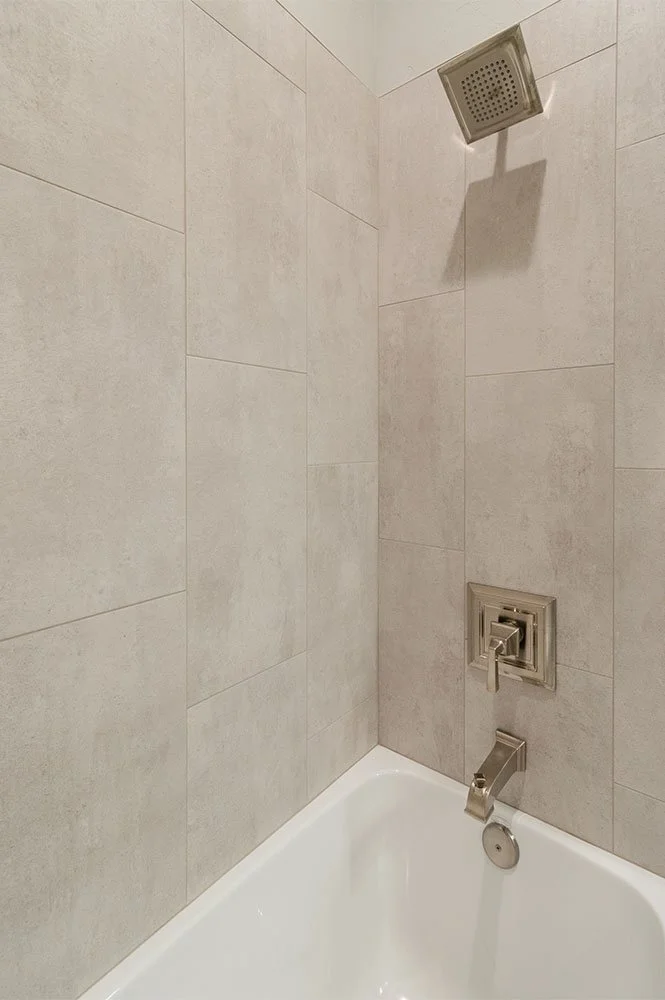
Vertical Staggered
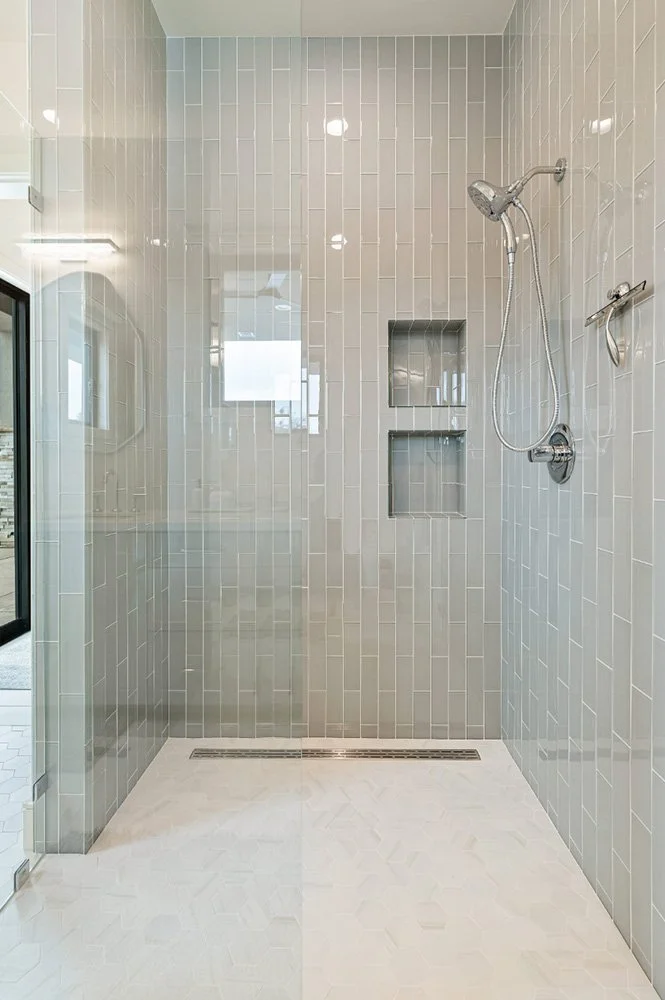
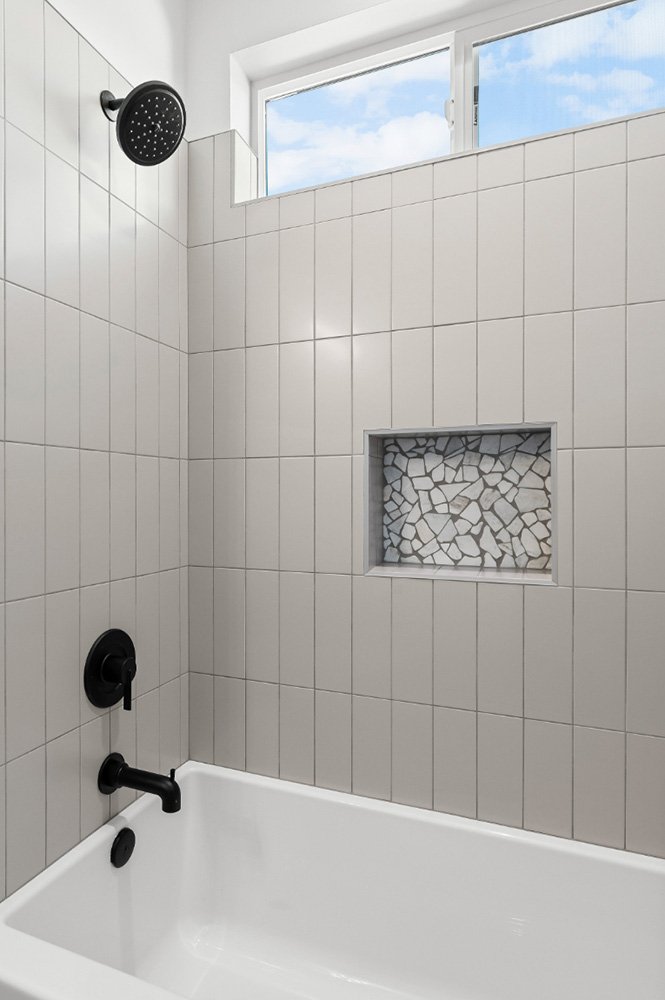
A vertical staggered pattern takes the same idea as a horizontal offset and rotates it so the tiles run upright with their joints staggered between columns. The vertical orientation draws the eye upward and makes ceilings feel taller, which is why it has become a popular choice for showers and accent walls. This pattern works especially well with subway tile and many 12” x 24” tiles, depending on the specific material and layout.
Straight Joint
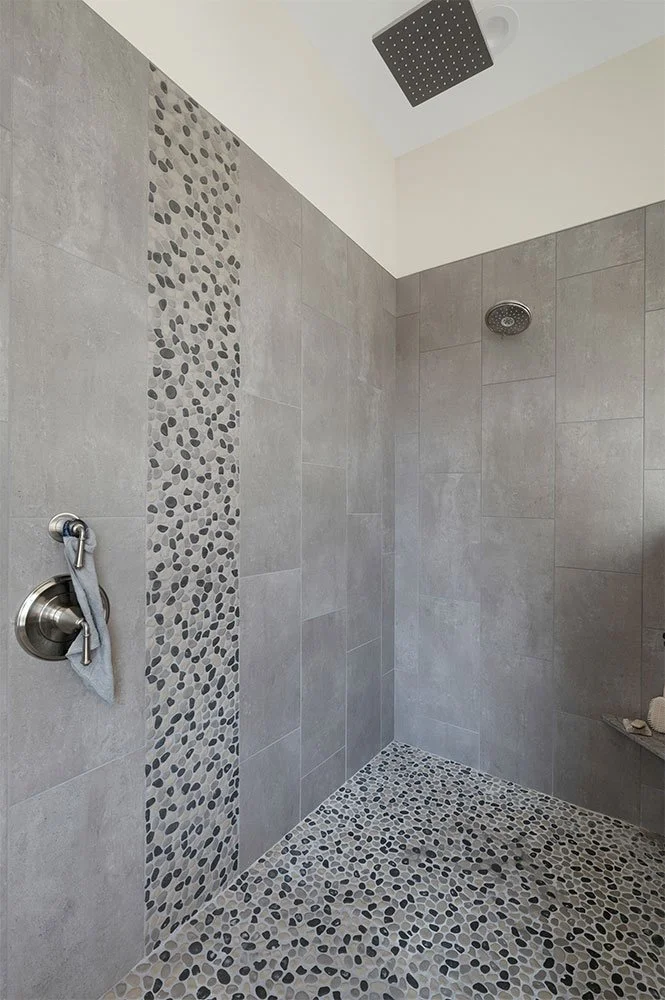
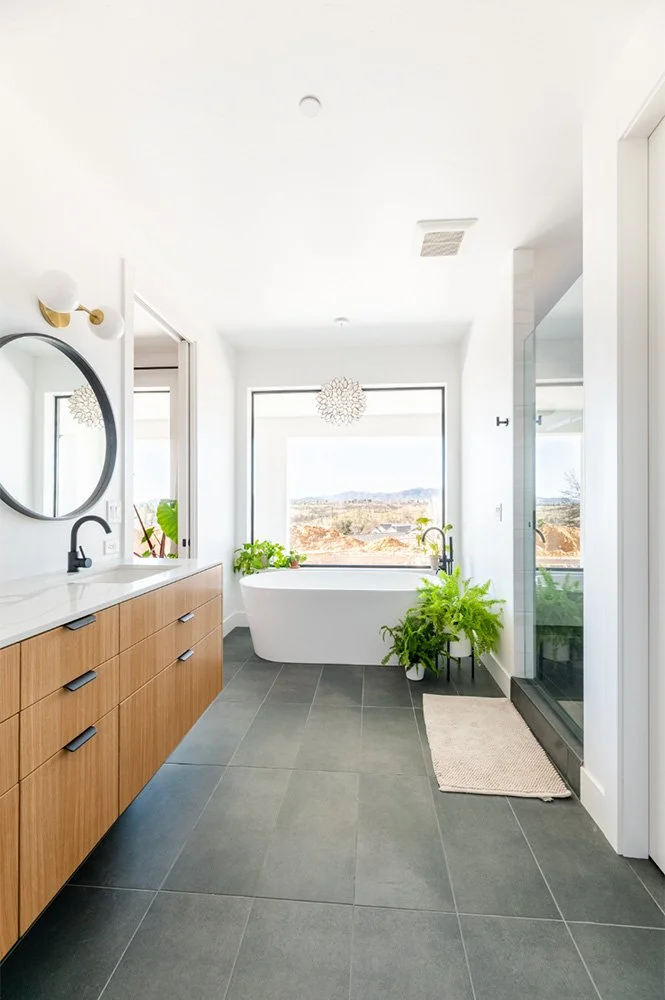
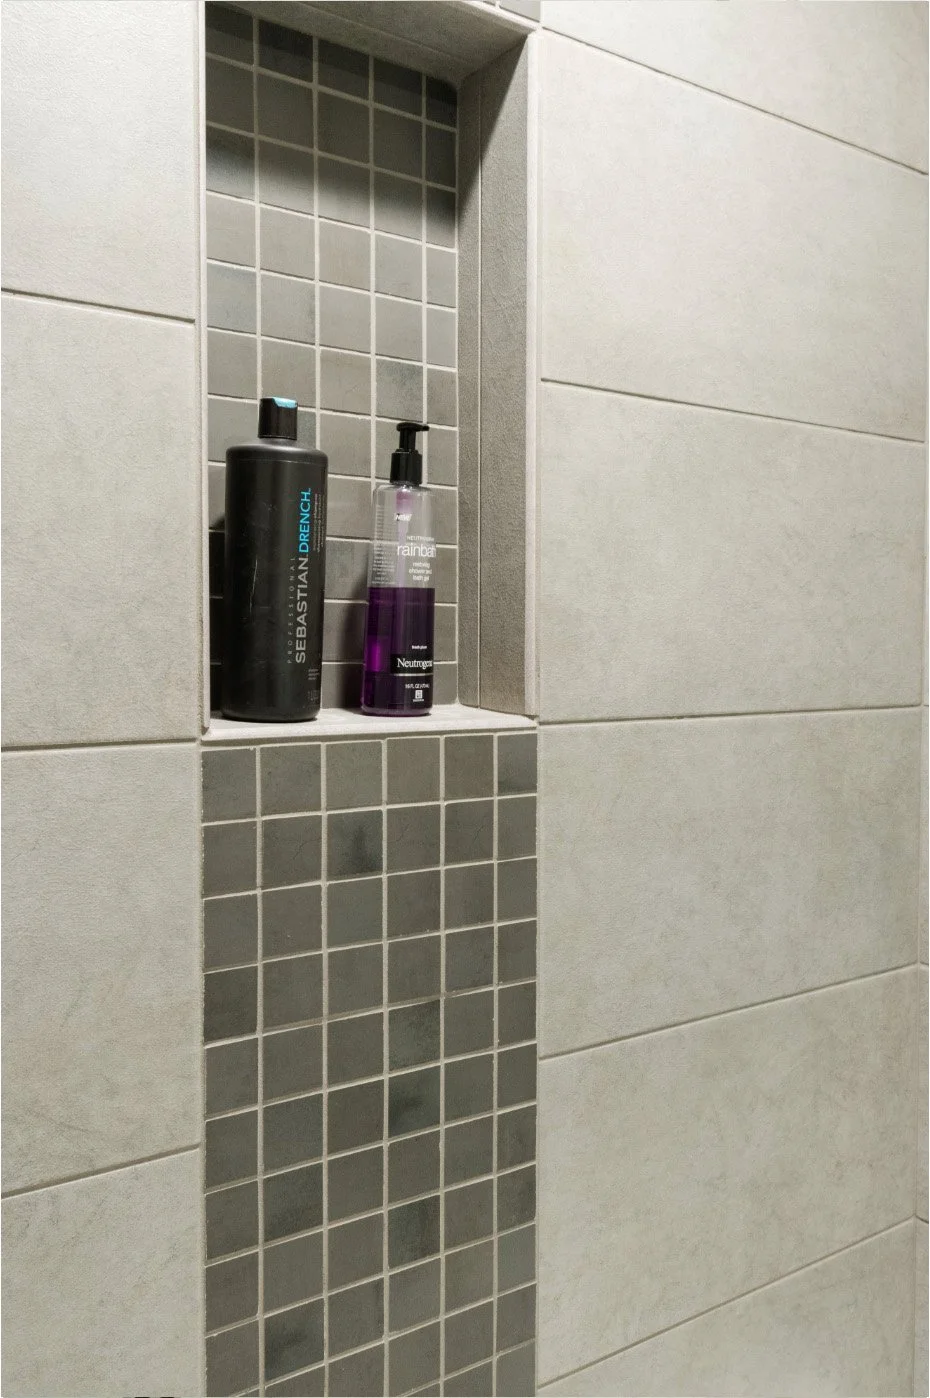
Every tile lines up perfectly with the tiles around it, forming a clean grid of grout lines. This pattern feels modern and architectural, and it works especially well when you want the tile itself to be the focal point. It is also the required layout for large-format 24” x 48” tile, since offsetting tiles of that size can create lippage issues.
Because the grout lines are so visible, precise layout planning is essential to get a flawless finished look. Straight joint layouts are a great choice for large-format tile, natural stone with strong veining, and spaces where a clean, contemporary finish is desired.
Vertical Soldier
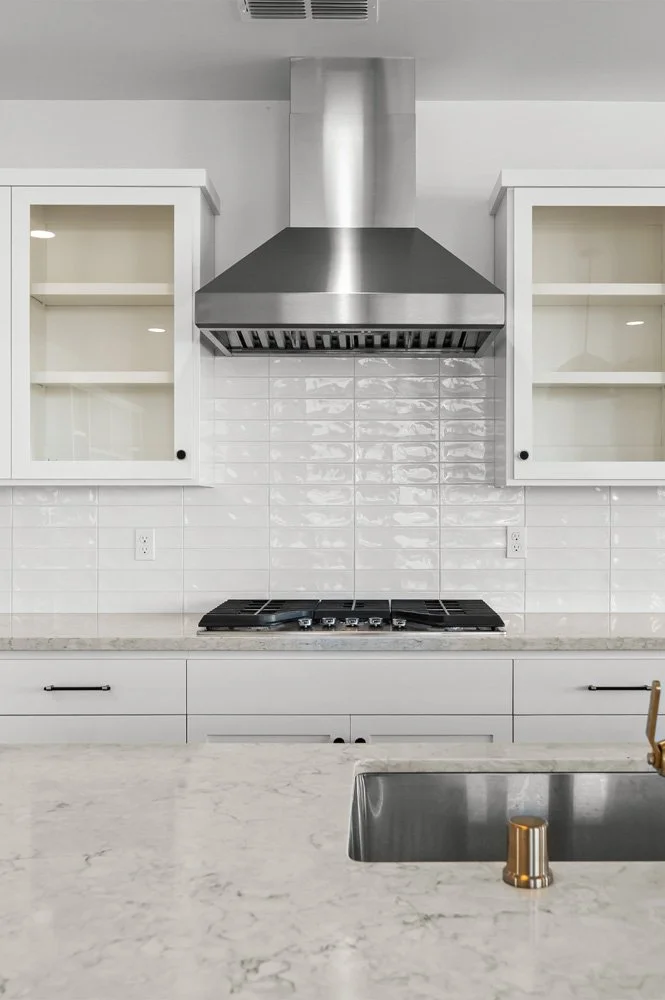
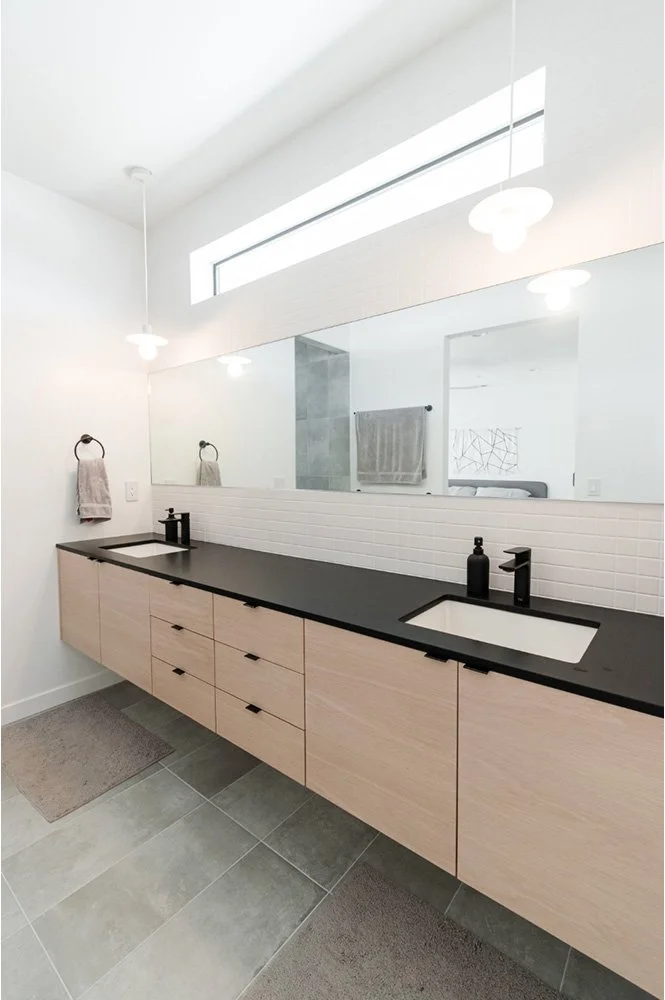
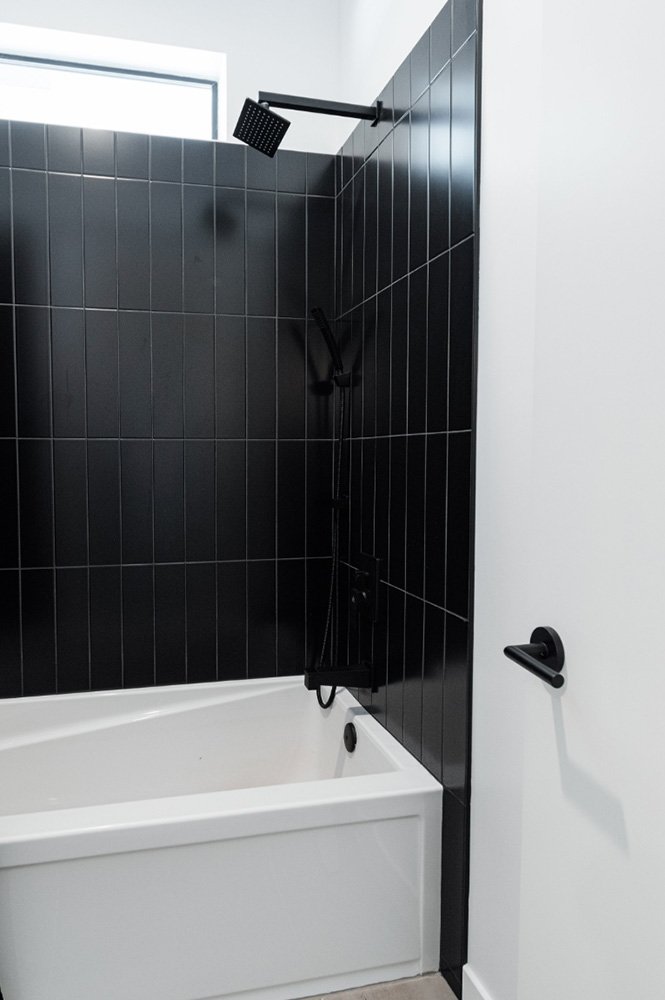
The vertical soldier is the subway tile version of a vertical straight joint, with each tile standing upright and its joints stacked directly above the tile below. It offers a modern twist on a classic material and shows up often in kitchen backsplashes, laundry rooms, and shower niches where clients want a tailored, custom feel.
Specialty Patterns
Soldier Stack
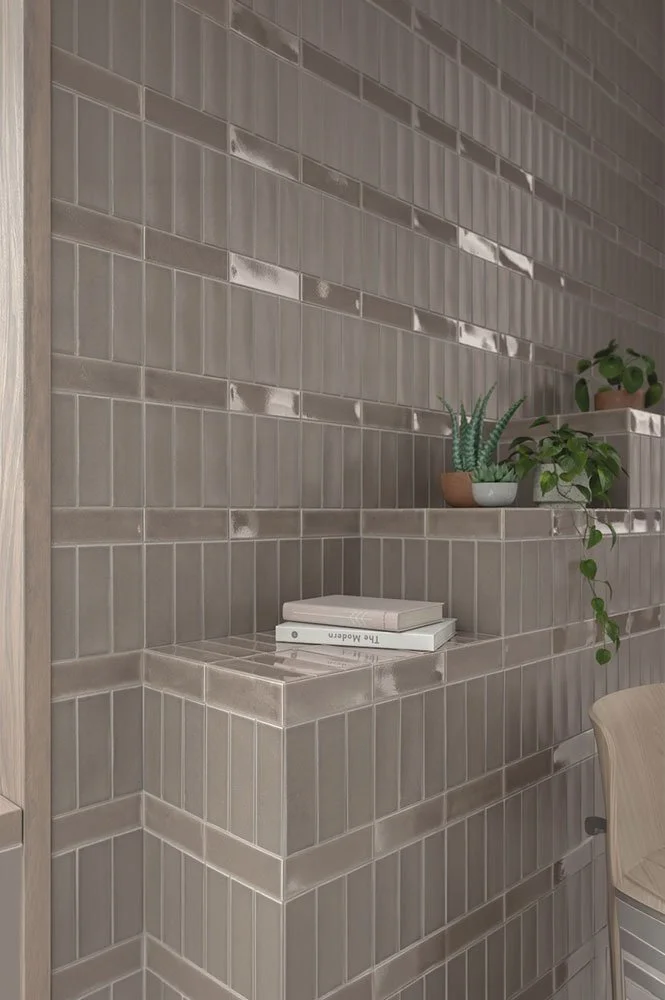
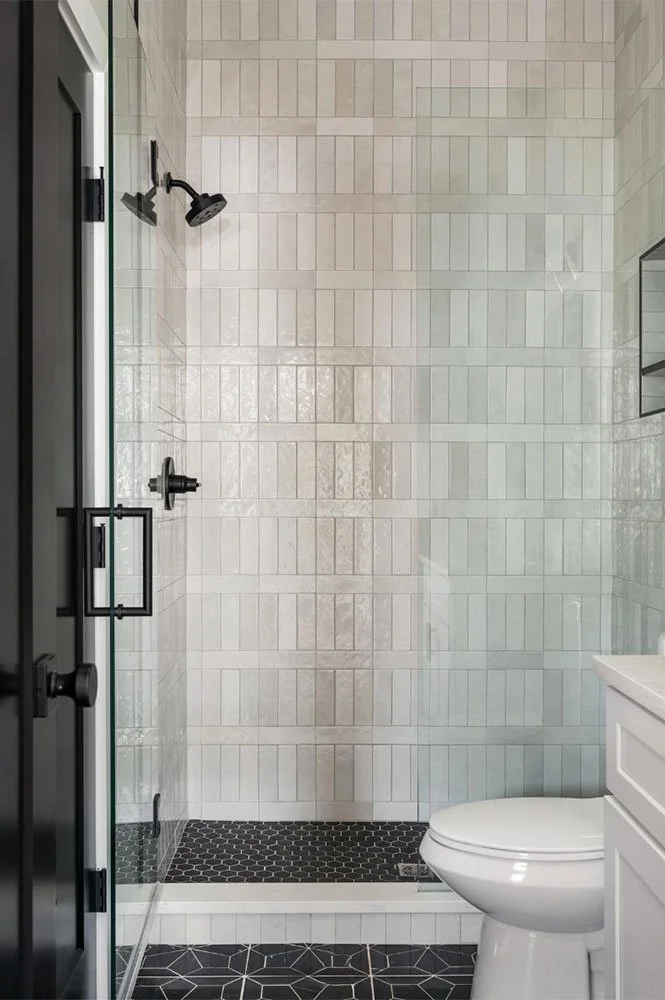
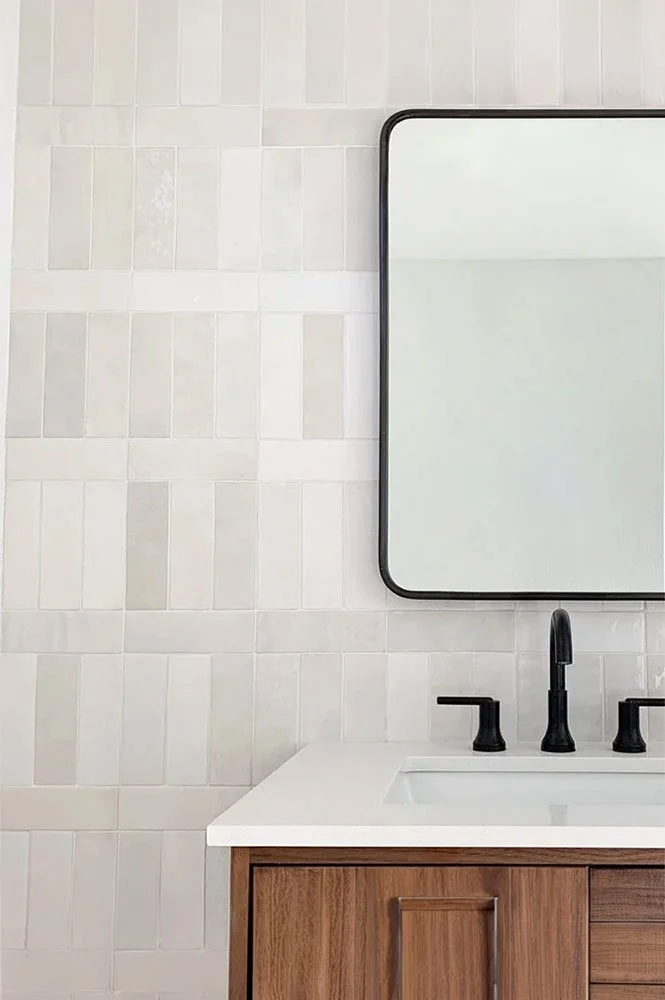
This variation alternates a full row of vertical soldier tiles with a full row of horizontal tiles stacked above or below it, repeating the pattern across the entire surface. The shifting orientation creates a basket-weave style rhythm that adds texture and visual interest while still feeling clean and orderly. It is a great option for showers, accent walls, and backsplashes when you want a custom look without introducing a second material.
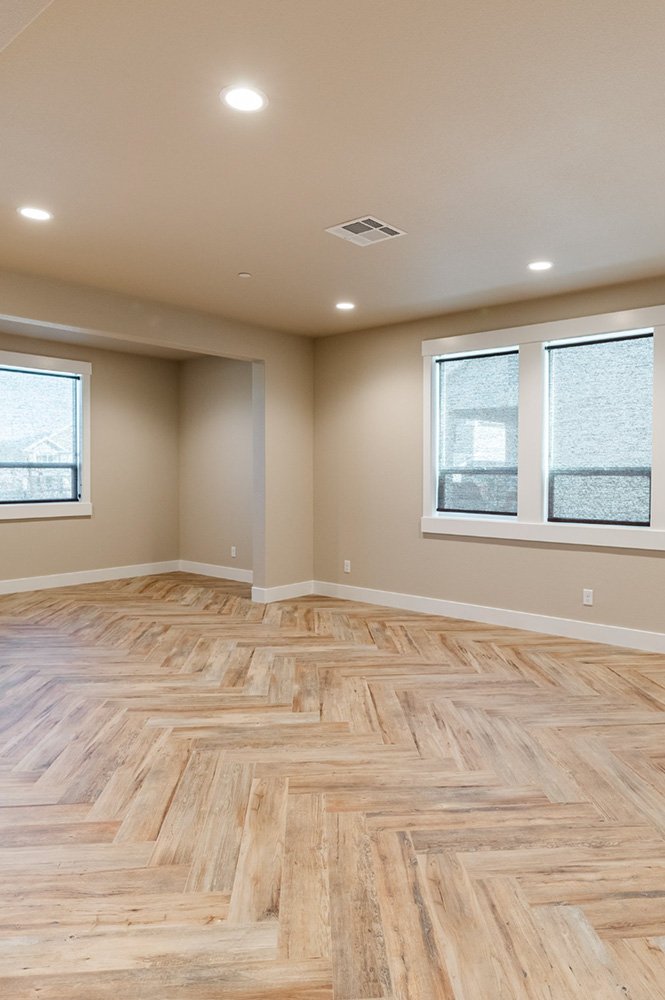
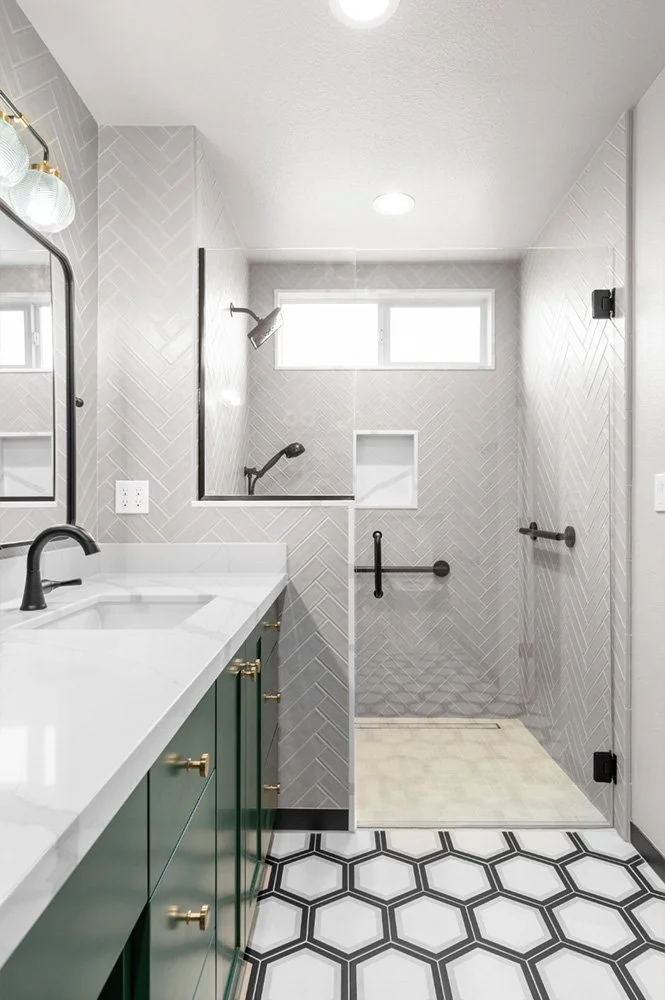
Herringbone
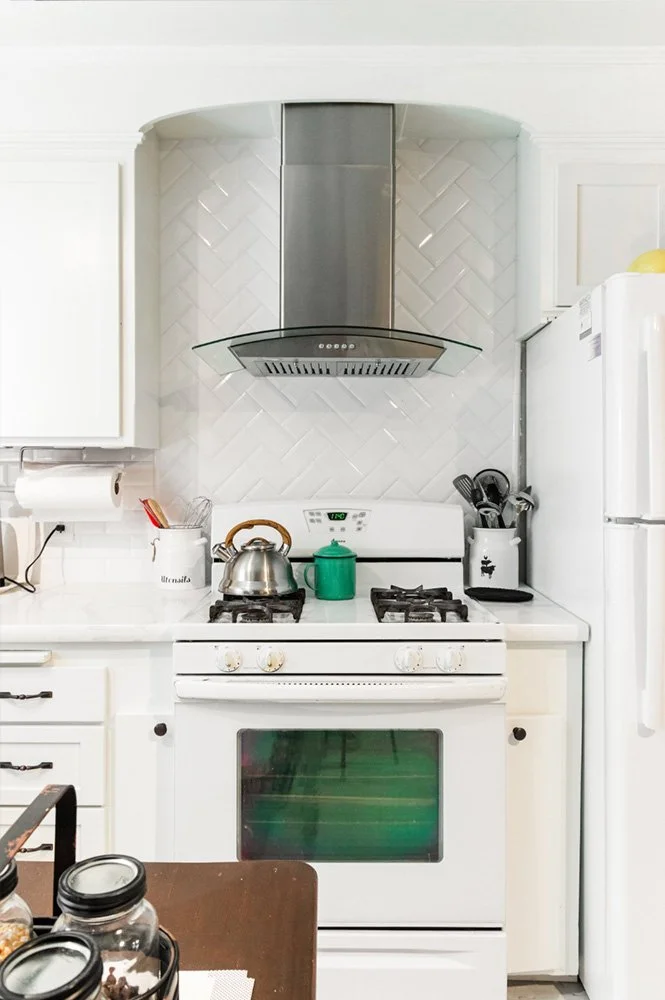
Herringbone is a classic pattern in which rectangular tiles are set at 90 degree angles to one another, creating a zigzag effect that moves across the surface. It adds movement and texture without overwhelming the space, though it does require careful layout and an expert tile installer to keep the lines true. Subway tile and other smaller rectangular tiles are especially popular choices for this pattern.
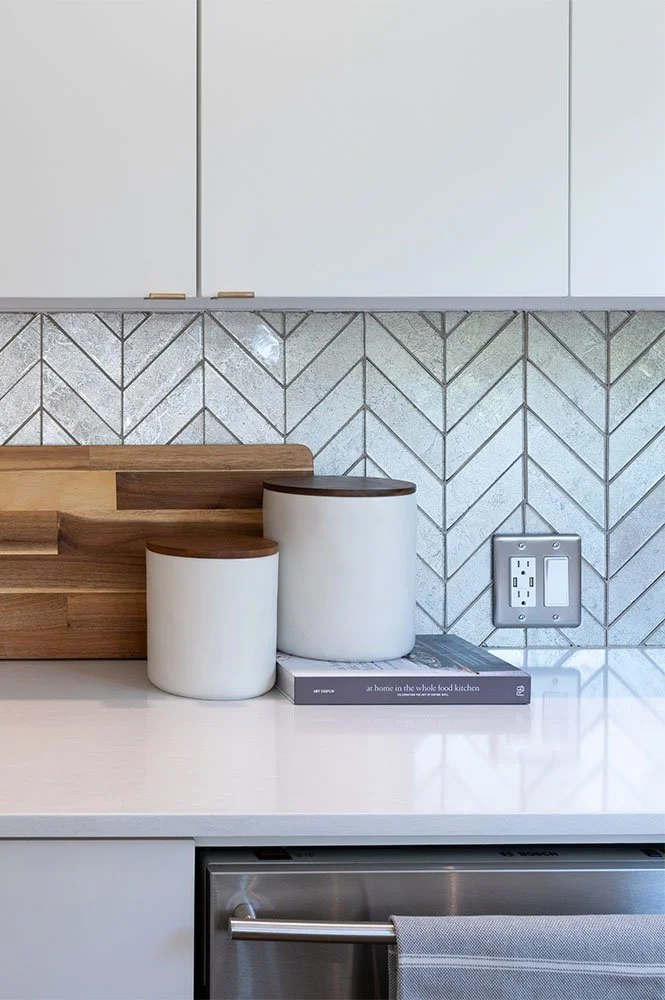
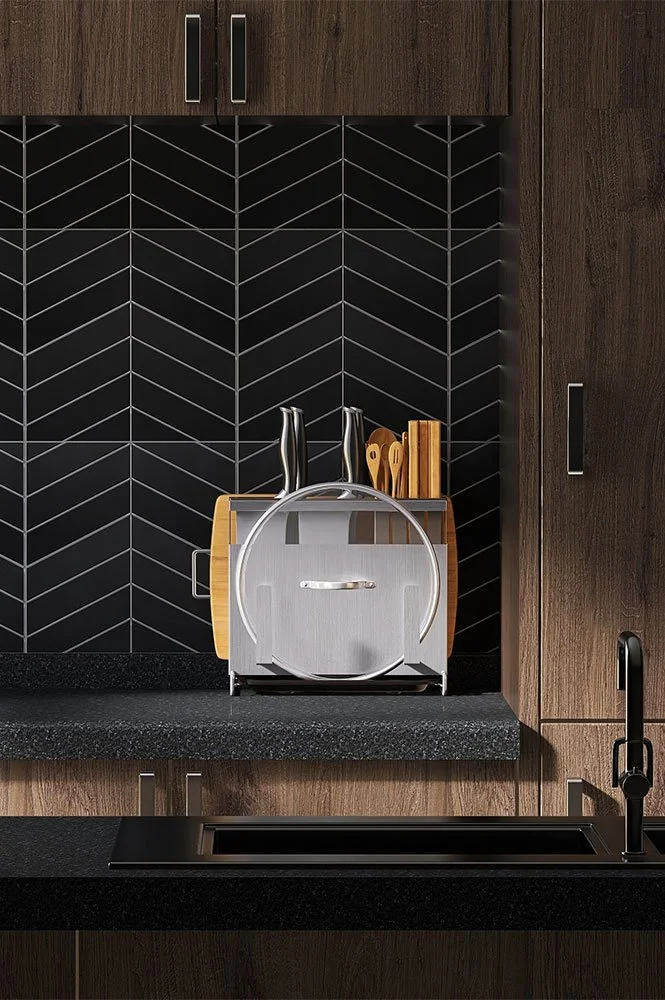
Chevron
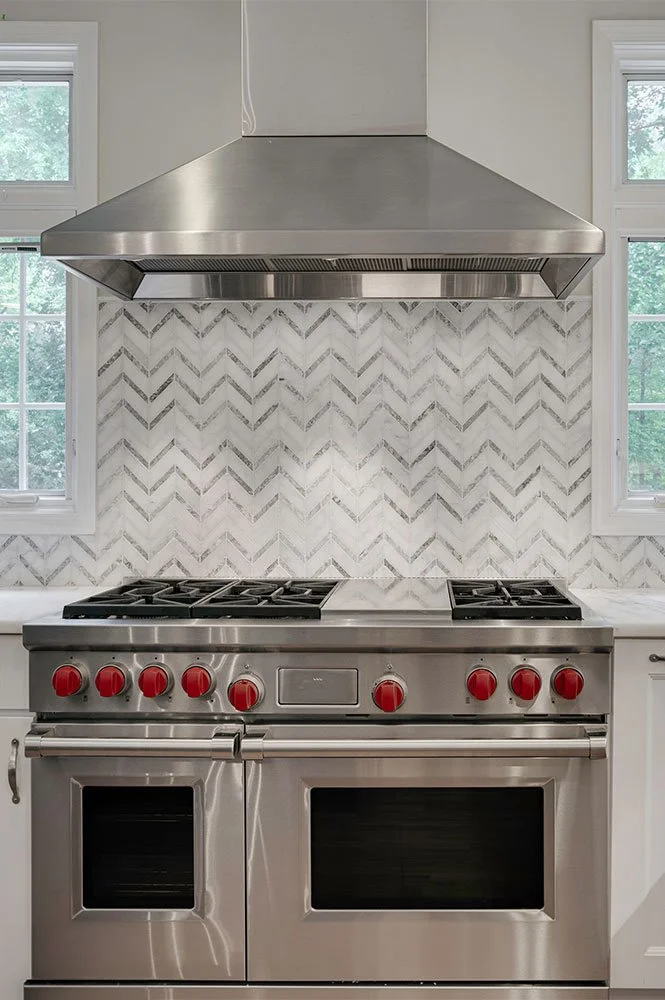
Chevron looks similar to herringbone at first glance, but the tile ends are mitered so they meet point to point in a continuous V shape rather than at right angles. The result feels sharper, more graphic, and more architectural, which makes it a great choice for statement walls and feature backsplashes.
Tile Pattern with an Accent Stripe
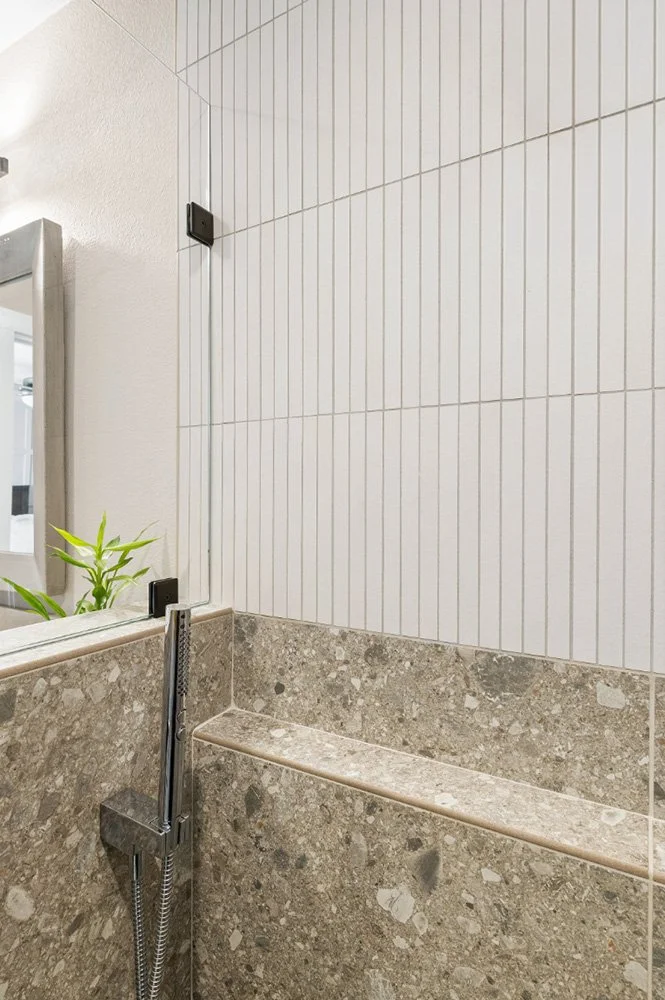
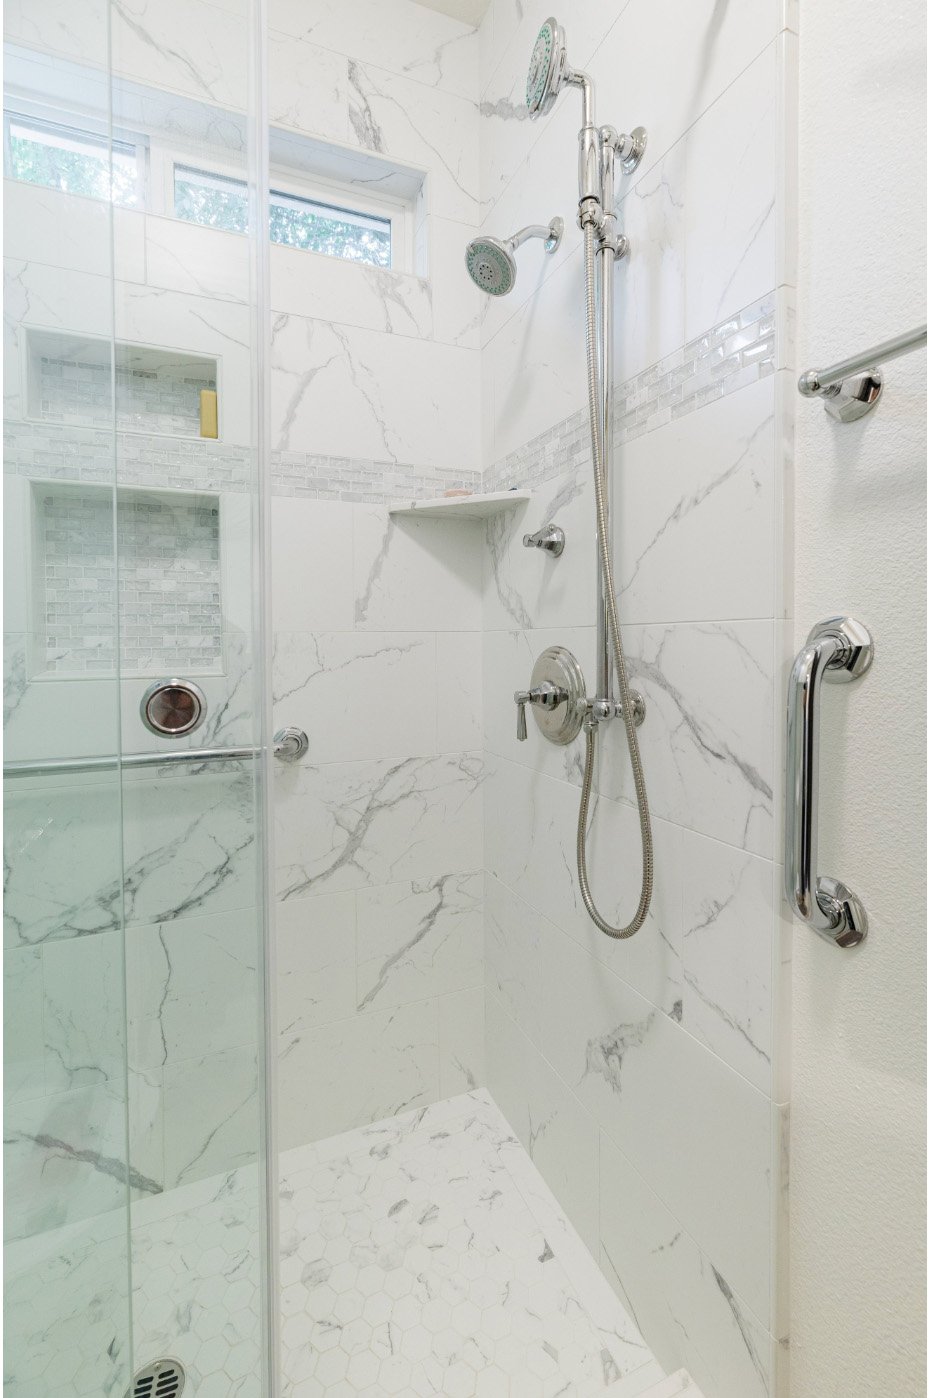
Almost any tile pattern can be elevated by adding a single accent stripe, also called a liner, running through the field. The liner might break up a vertical soldier layout, cross a horizontal offset, or sit at chair-rail height in a shower. It often uses a contrasting tile, mosaic, or metal tile to draw the eye.
An accent stripe or liner is one of the simplest ways to add a custom design element to a project without changing your main material.
Choosing the Right Pattern
The best pattern depends on your tile, your space, and the look you want to create. Large-format 24” x 48” tile must be installed in a straight joint layout because offset patterns can create lippage problems. 12” x 24” tile offers more flexibility and can often work in straight joint, one-third offset, vertical staggered, and other layouts depending on the material. Subway tile is the most versatile and works well across nearly every pattern, including 50 percent offset, vertical soldier, herringbone, and specialty layouts.
Natural stone with strong veining often shines in a straight joint layout where the material itself can be the star. No matter which pattern you choose, the right layout will help the tile look intentional, balanced, and beautifully finished.
Visit our Redding showroom at 8689 Airport Road to see these patterns in person, or call (530) 222-2628 to start planning your project. Our team will help you visualize the finished space with 3D renderings and detailed layouts before installation begins.